
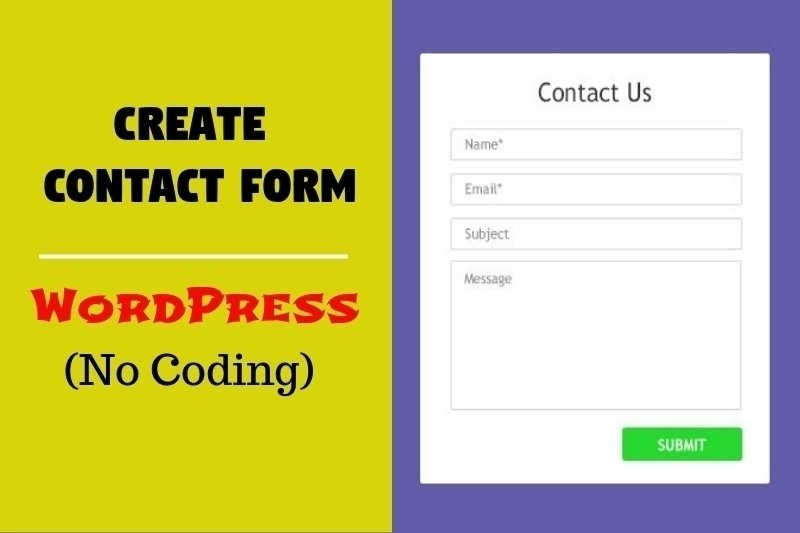
Contact form is one of the most important part of any website. And if you are also looking to add a perfect contact form in your WordPress website, so that people can contact you about your services and products then this WordPress Contact Form tutorial will be helpful for you.
I will explain you how to create contact form in your WordPress website without touching a single line of code.
In video, didn’t you find what you were looking for? Read the entire article below.
What is the need of a Contact Form on your website?
Might be you are wondering why do I create contact form on my website? Isn’t it enough to add just my email address, so that people can write me an email?
Most of the beginners have this question in their mind when they start their first WordPress Website or Blog. They think its a complex part of any website and needs coding knowledge.
But..
The truth is that to create contact form on WordPress website, you do not need to write a single line of code. Here, in this step by step tutorial, I have covered up each and every section of a contact form and explained in detail, how to create contact form on your website without code.
2 Reasons why you should use Contact form rather than just adding your email address:
- Spam Protection: As you know, there are several marketing companies, who sends you unlimited emails per day whether they are useful for you or not but fills your inbox memory. Rather than exposing your email address, it is better to create contact form and use CAPTCHA to stop spammers
- Time saving: As you know, to send an email to someone, you need to login into your email account, then adding the recipient’s email address in “TO” field, then writing your text and then send. Don’t you think it takes too long to just send a simple inquiry?
With contact form, you need to just enter your details and message and send. It saves a lot of your time.
Step 1: Choose the Best Contact Form Plugin
This is the first step in your contact form creation process, where you have to select a Best WordPress Contact Form Plugin.
Though, there are more than 20+ Free and 35+ Premium WordPress Contact Form Plugins available, but I use WP Forms Contact Form plugin in my all WordPress Websites because of its flexibility to customize it, without touching a single line of code.
Following are the top reasons why I recommend WP Forms Contact Form Plugin:
- Drag & Drop Feature: I think there is no one, who do not like Drag and Drop feature. This plugin is too beginner friendly and easy to use. Anyone can easily create contact form fields by using its drag & drop contact form builder.
- Free: The plugin WPForms Lite is 100% free to use and there is nothing to pay for lifetime.
- Features Upgrade: When you think its the time to explore more features in a contact form, simple upgrade to WPForms Pro for a very nominal fee.
Good Job! Now you have selected the best Contact Form plugin. It’s time to install and activate this plugin on your WordPress Website.
Step 2: Install and Activate the plugin
Here, in this contact form tutorial, I am using WPForms Lite version as it is 100% free and easy to use in your website.
Login into your WordPress Dashboard and Goto > Plugins > Add New and type “WPForms” in the plugins search box.

Once you will type WPforms in the plugin search box, the relevant results will display. Find the “Contactform by WPforms” one and click on “Install” to install the free version of WPforms in your website.
At last, Activate the plugin.

Step 3: Create your First Contact Form
As you have activated the WPForms Contact Form plugin, its time to start creating your first contact form having following fields:
- Name,
- Email address,
- Phone Number,
- Message and Submit Button.
Goto your WordPress Dashboard > WPForms > Add New

You will see the WPForms Drag and Drop Form Builder screen 1. Give a unique name to your first contact form and then select any of the given contact form template.
WPForms Lite version have few limitation as it comes with only for pre-built form templates
- Blank Form,
- Simple Contact Form
- Newsletter Signup Form
- Suggestion Form
You are allowed to choose anyone of the given contact form templates but for better explanation, I will use Blank Contact Form option and will explain you by adding fields one by one manually, using drag & drop form builder.

The next screen will provide you the great drag and drop contact form builder of WPForms and on the left hand side, 8 fields are available in WPForms Lite version.
To add a specific field in your contact form, either click on that field or just drag and drop to the right side blank area.

Step 4: Renaming Fields Label
WPForms Lite provides you great flexibility to customize the fields, button text and almost everything, very easily.
To rename the Label text, simple mouse hover on the specific field and then you will see “Click to edit” option. Just click on it and you can have the following list of sections to edit.

Step 5: Configuring Email Notifications and Confirmations
Ok, so as far, you have created your first WordPress Contact Form. Now, it’s time to properly configure your form notifications and user confirmations.
Form Confirmation: This is what your website user see when he submit the contact form. This could be a simple Thank You message or you can redirect him to a custom page.
Form Notification: This is the message that you receive in your inbox when someone submit the contact form. Whatever the fields you have used in your contact form, all the field values can be received in your inbox.
We leave these settings as it is. I am just guiding you how to set your email address to receive contact form details, directly in your inbox.
Goto > Settings > Notifications > Send To Email Address and here enter your email address on which you want to received details of contact form submission.

Step 6: Adding Contact Form in Web Page
Lastly, as your WordPress Contact Form is ready and configured well, it’s time to place it on your web page.
To display the contact form on a web page, firstly you need to create one or embed the contact form on an existing web page.
How to use shortcode to embed Contact Form?
Once you have saved your Contact Form then you will be able to seen a specific shortcode of your contact form.

In the above picture, you can see the shortcode of your contact form. Just copy this shortcode and Goto > Pages > Add New and create a new page. I am naming it as Contact us (the page).
Paste this shortcode in the text mode of your website and publish the page.
You will see your newly created contact form on the frontend of your Contact us page.

This is how easy to create contact form on a WordPress website. You can check your live website page and a working contact form is there.


